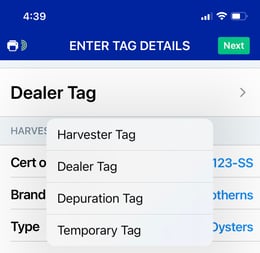
- At the top of the screen, tap the name of the tag, ex: Harvest Tag or Dealer Tag, then select the type of tag you'd like to create
- Enter all the information you'd like to capture about the product you are tagging. Then tap "Next" at the top of the screen.
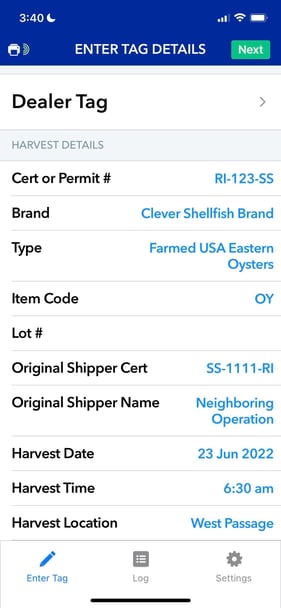
- As you are filling in the data, you may notice that a list of data (known as a "picker") is displayed to help you quickly make selections. This "picker" is fueled by information from your settings. Visit Settings any time to change/update your picker data.
- Also, for speedy data entry, we remember the information you last entered into a tag form. If that data is incorrect, just edit that form field.
- Next, you'll be asked to enter the quantity. You should have some favorites setup, if not, here's everything you need to know about quantity.
- Tap on a favorite, ex: 100 count bags
- Then tell the system how many bags
- And then record how many and what type of tags or labels you want to print
Print or reprint later.
- To print the tag at a later time, on the quantity screen, don't enable "print on save" before saving your tag
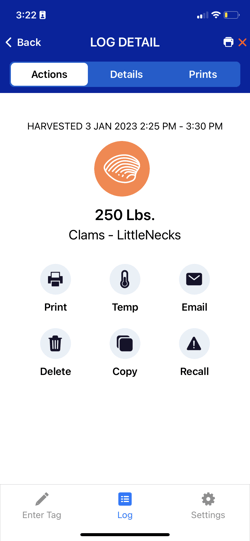
- When you're ready to print, go to the log detail, tap "Print", then enter the quantity you'd like to print and tap "Print"
In the screen below you can see a lot you saved in the app. There are three tabs at the top:
- Actions: things you can do with this lot
- Details: where you can edit
- Prints: where you can see how much you have printed