Unbox and Load Your Printer
- Unpack the printer and plug in.
- On the printer, navigate to Menu > Tap the second icon/Connections > Tap BlueTooth, make sure the setting for BlueTooth discovery is ON (you can also see the friendly name of the printer here)
- Open iOS Settings > Tap BlueTooth > the friendly name of the printer is displayed, tap it to connect, pair the printer following the instructions on the printer and in settings
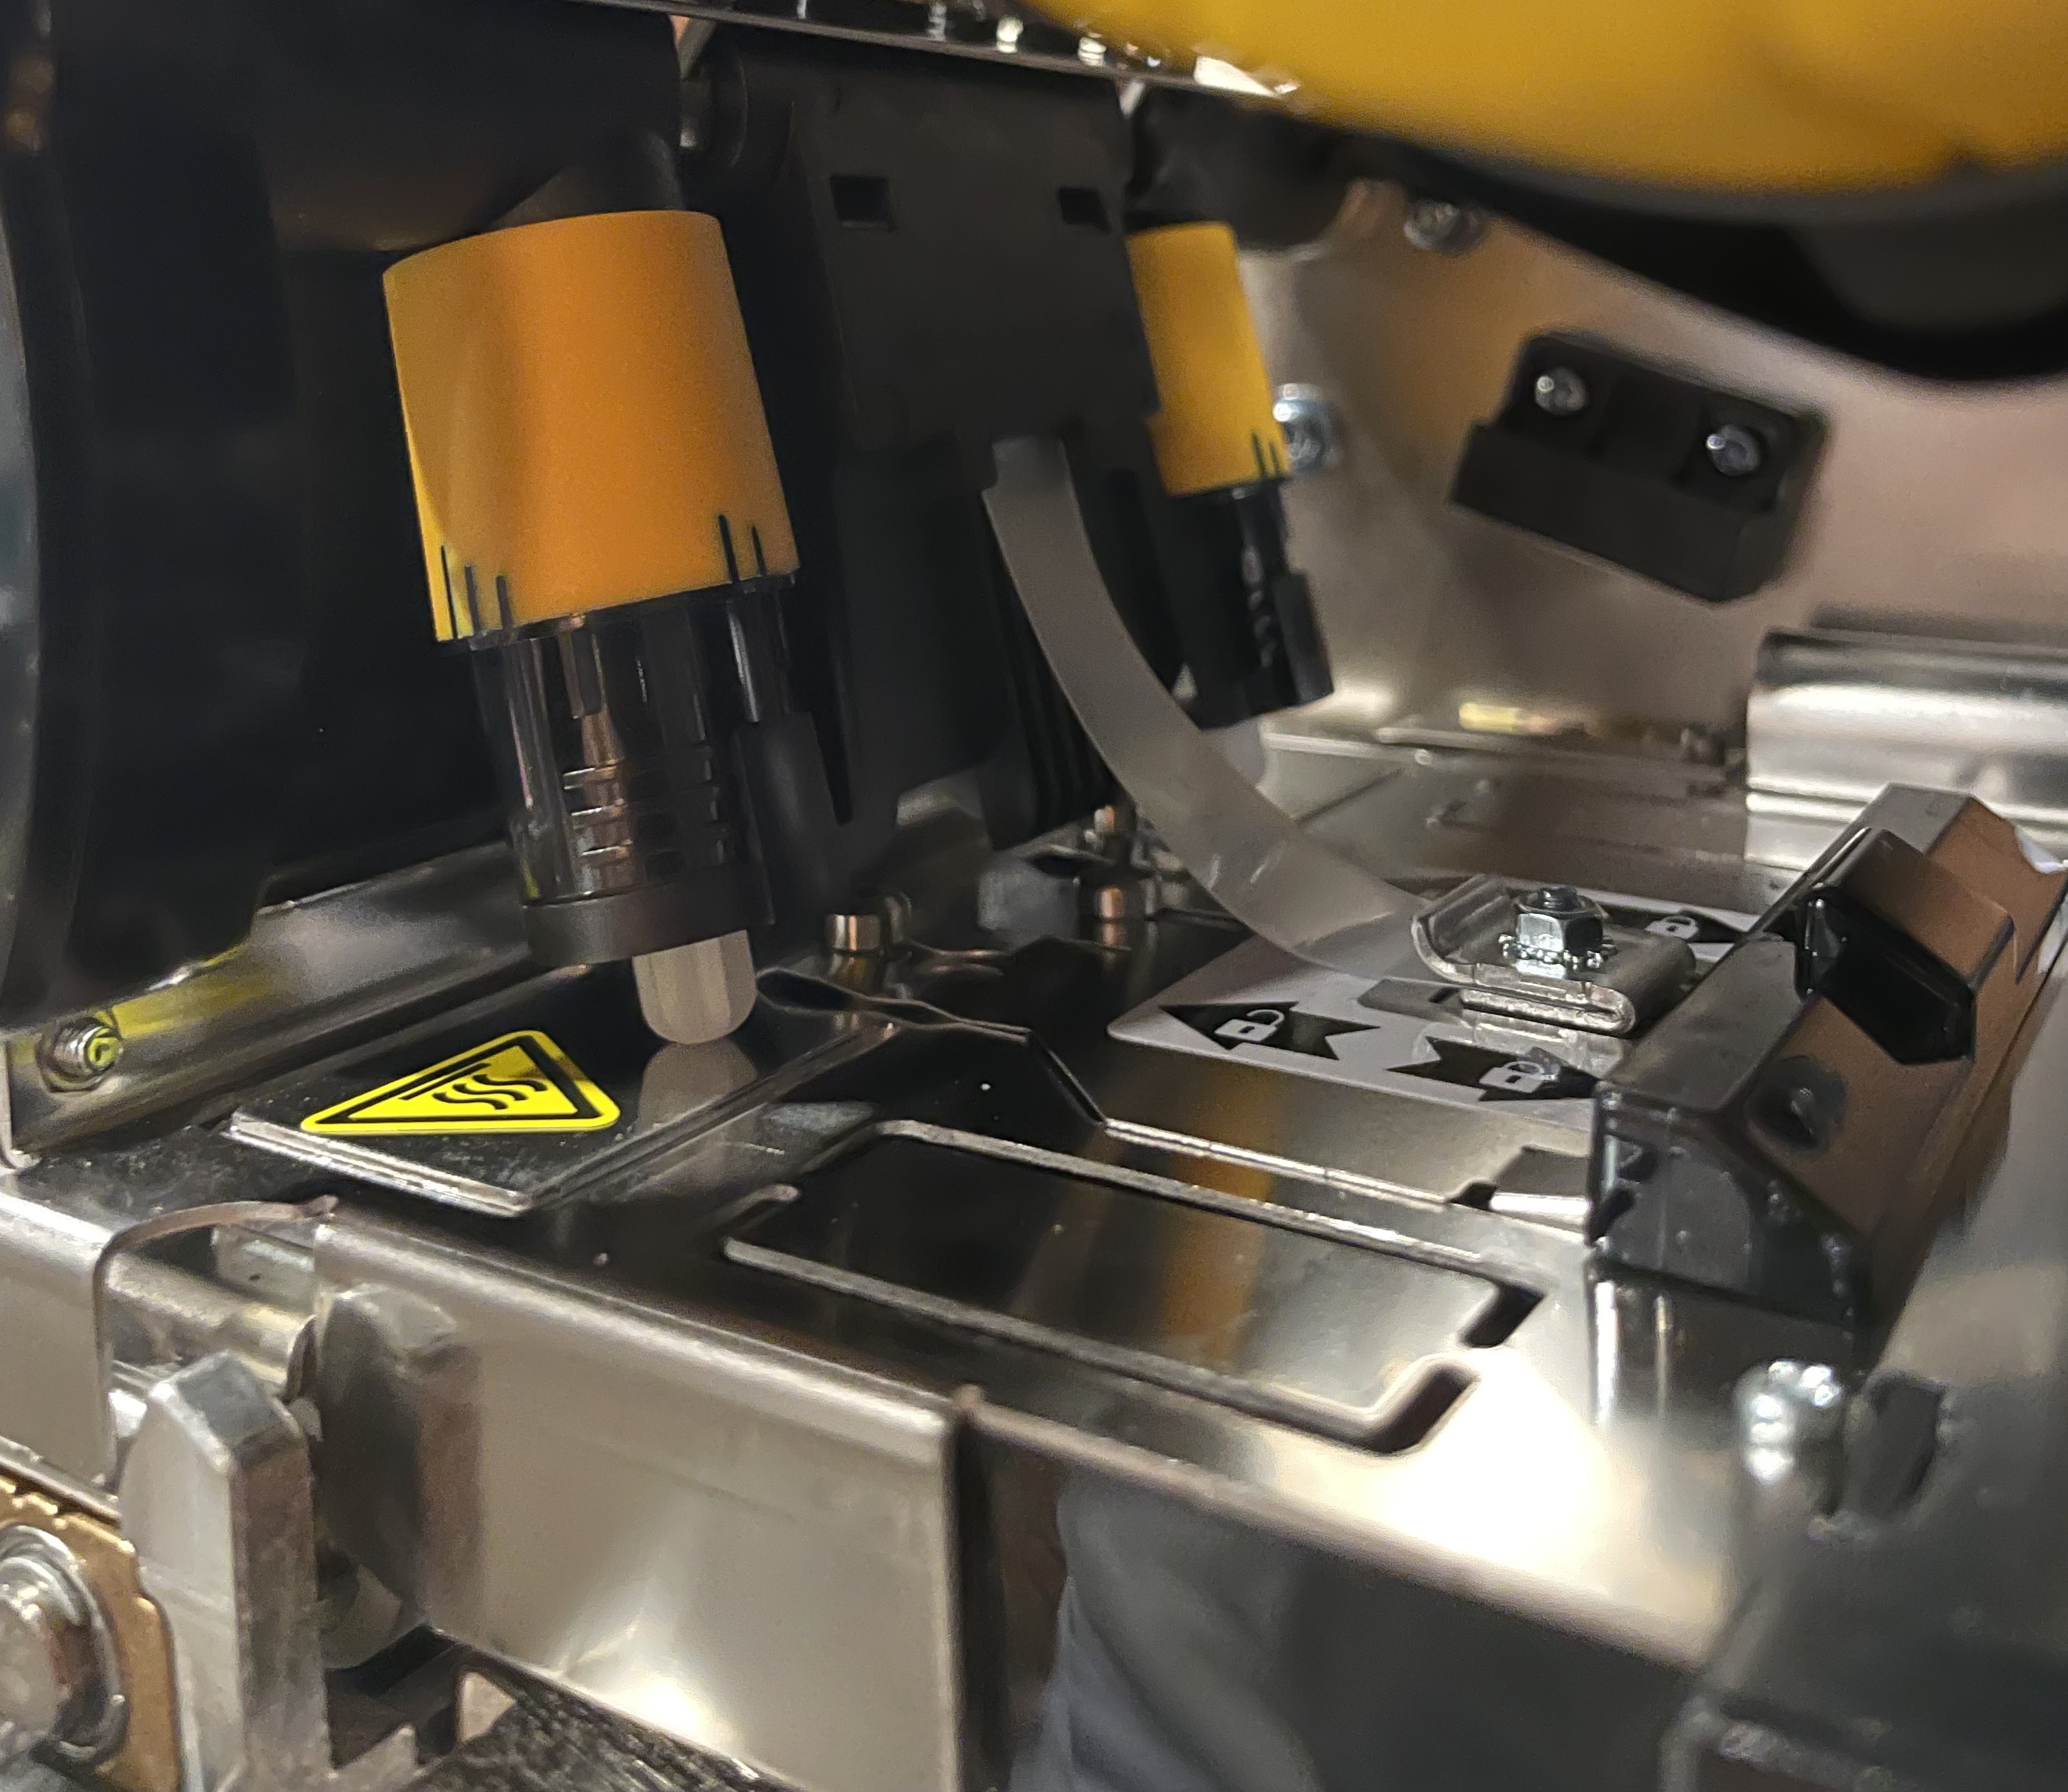
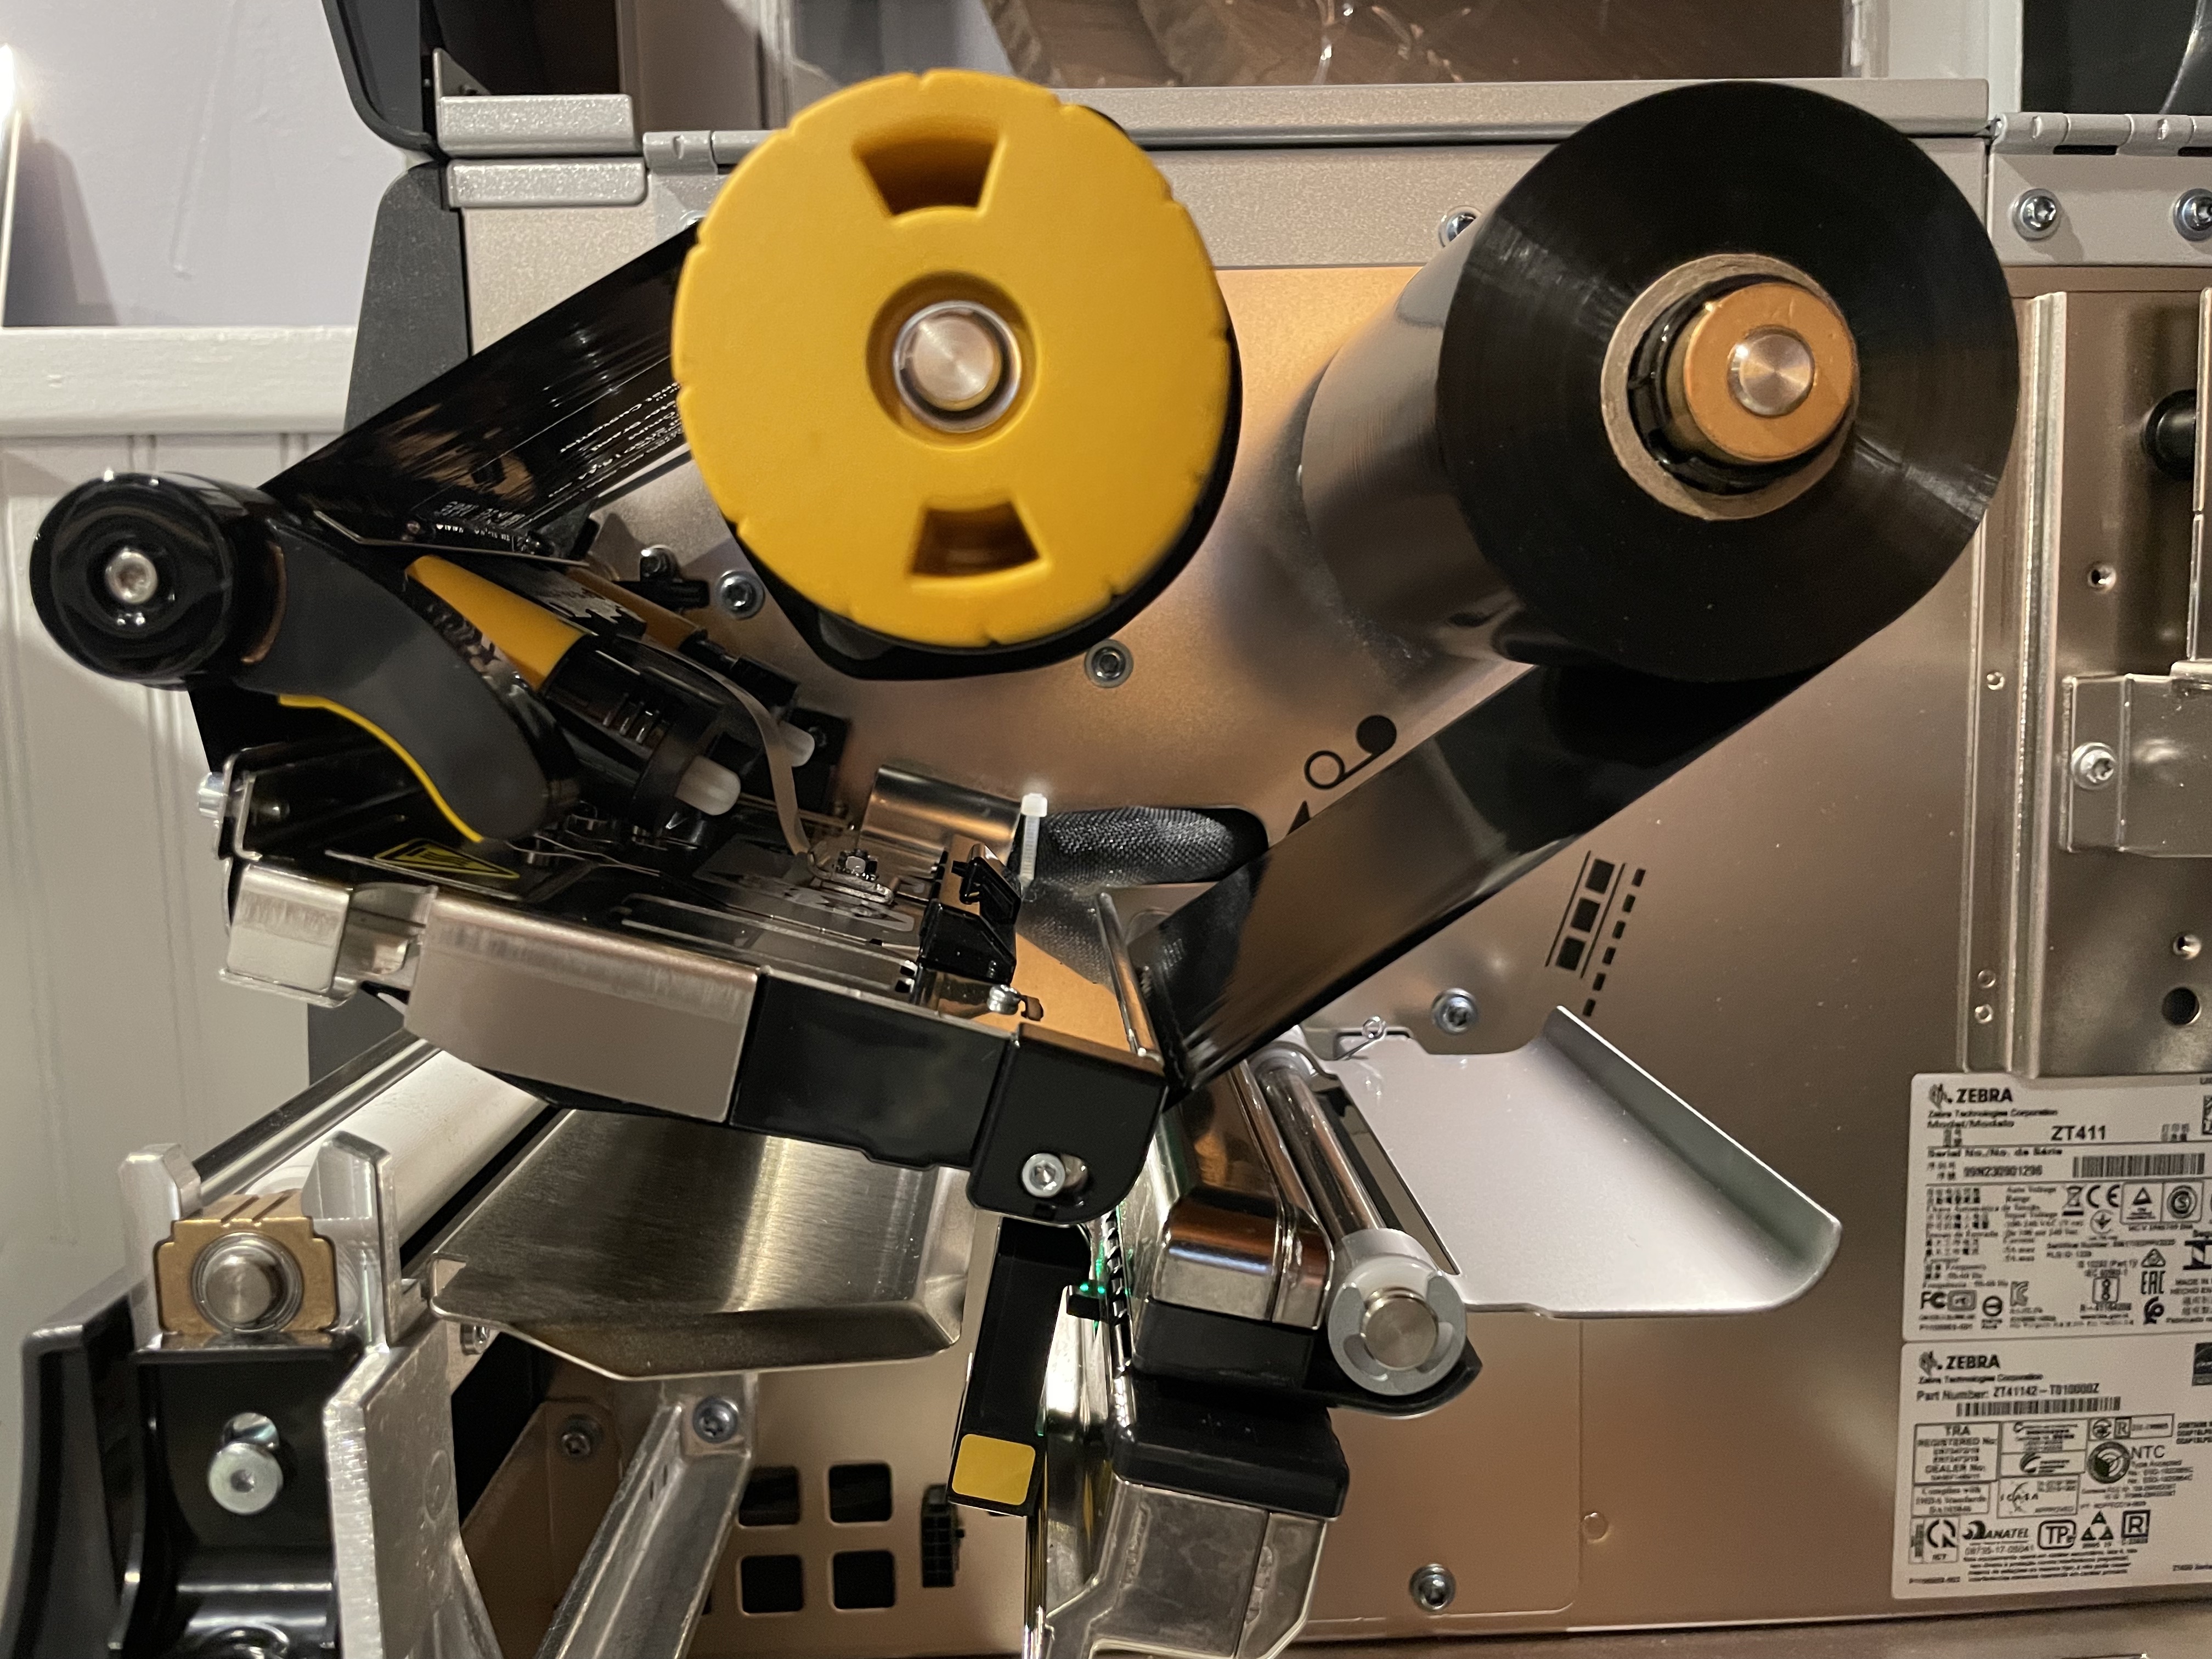
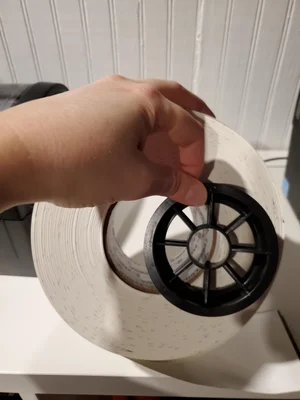
- Install the ribbon and the paper. There are installation instructions for the ribbon and the paper on the printer you can check out.
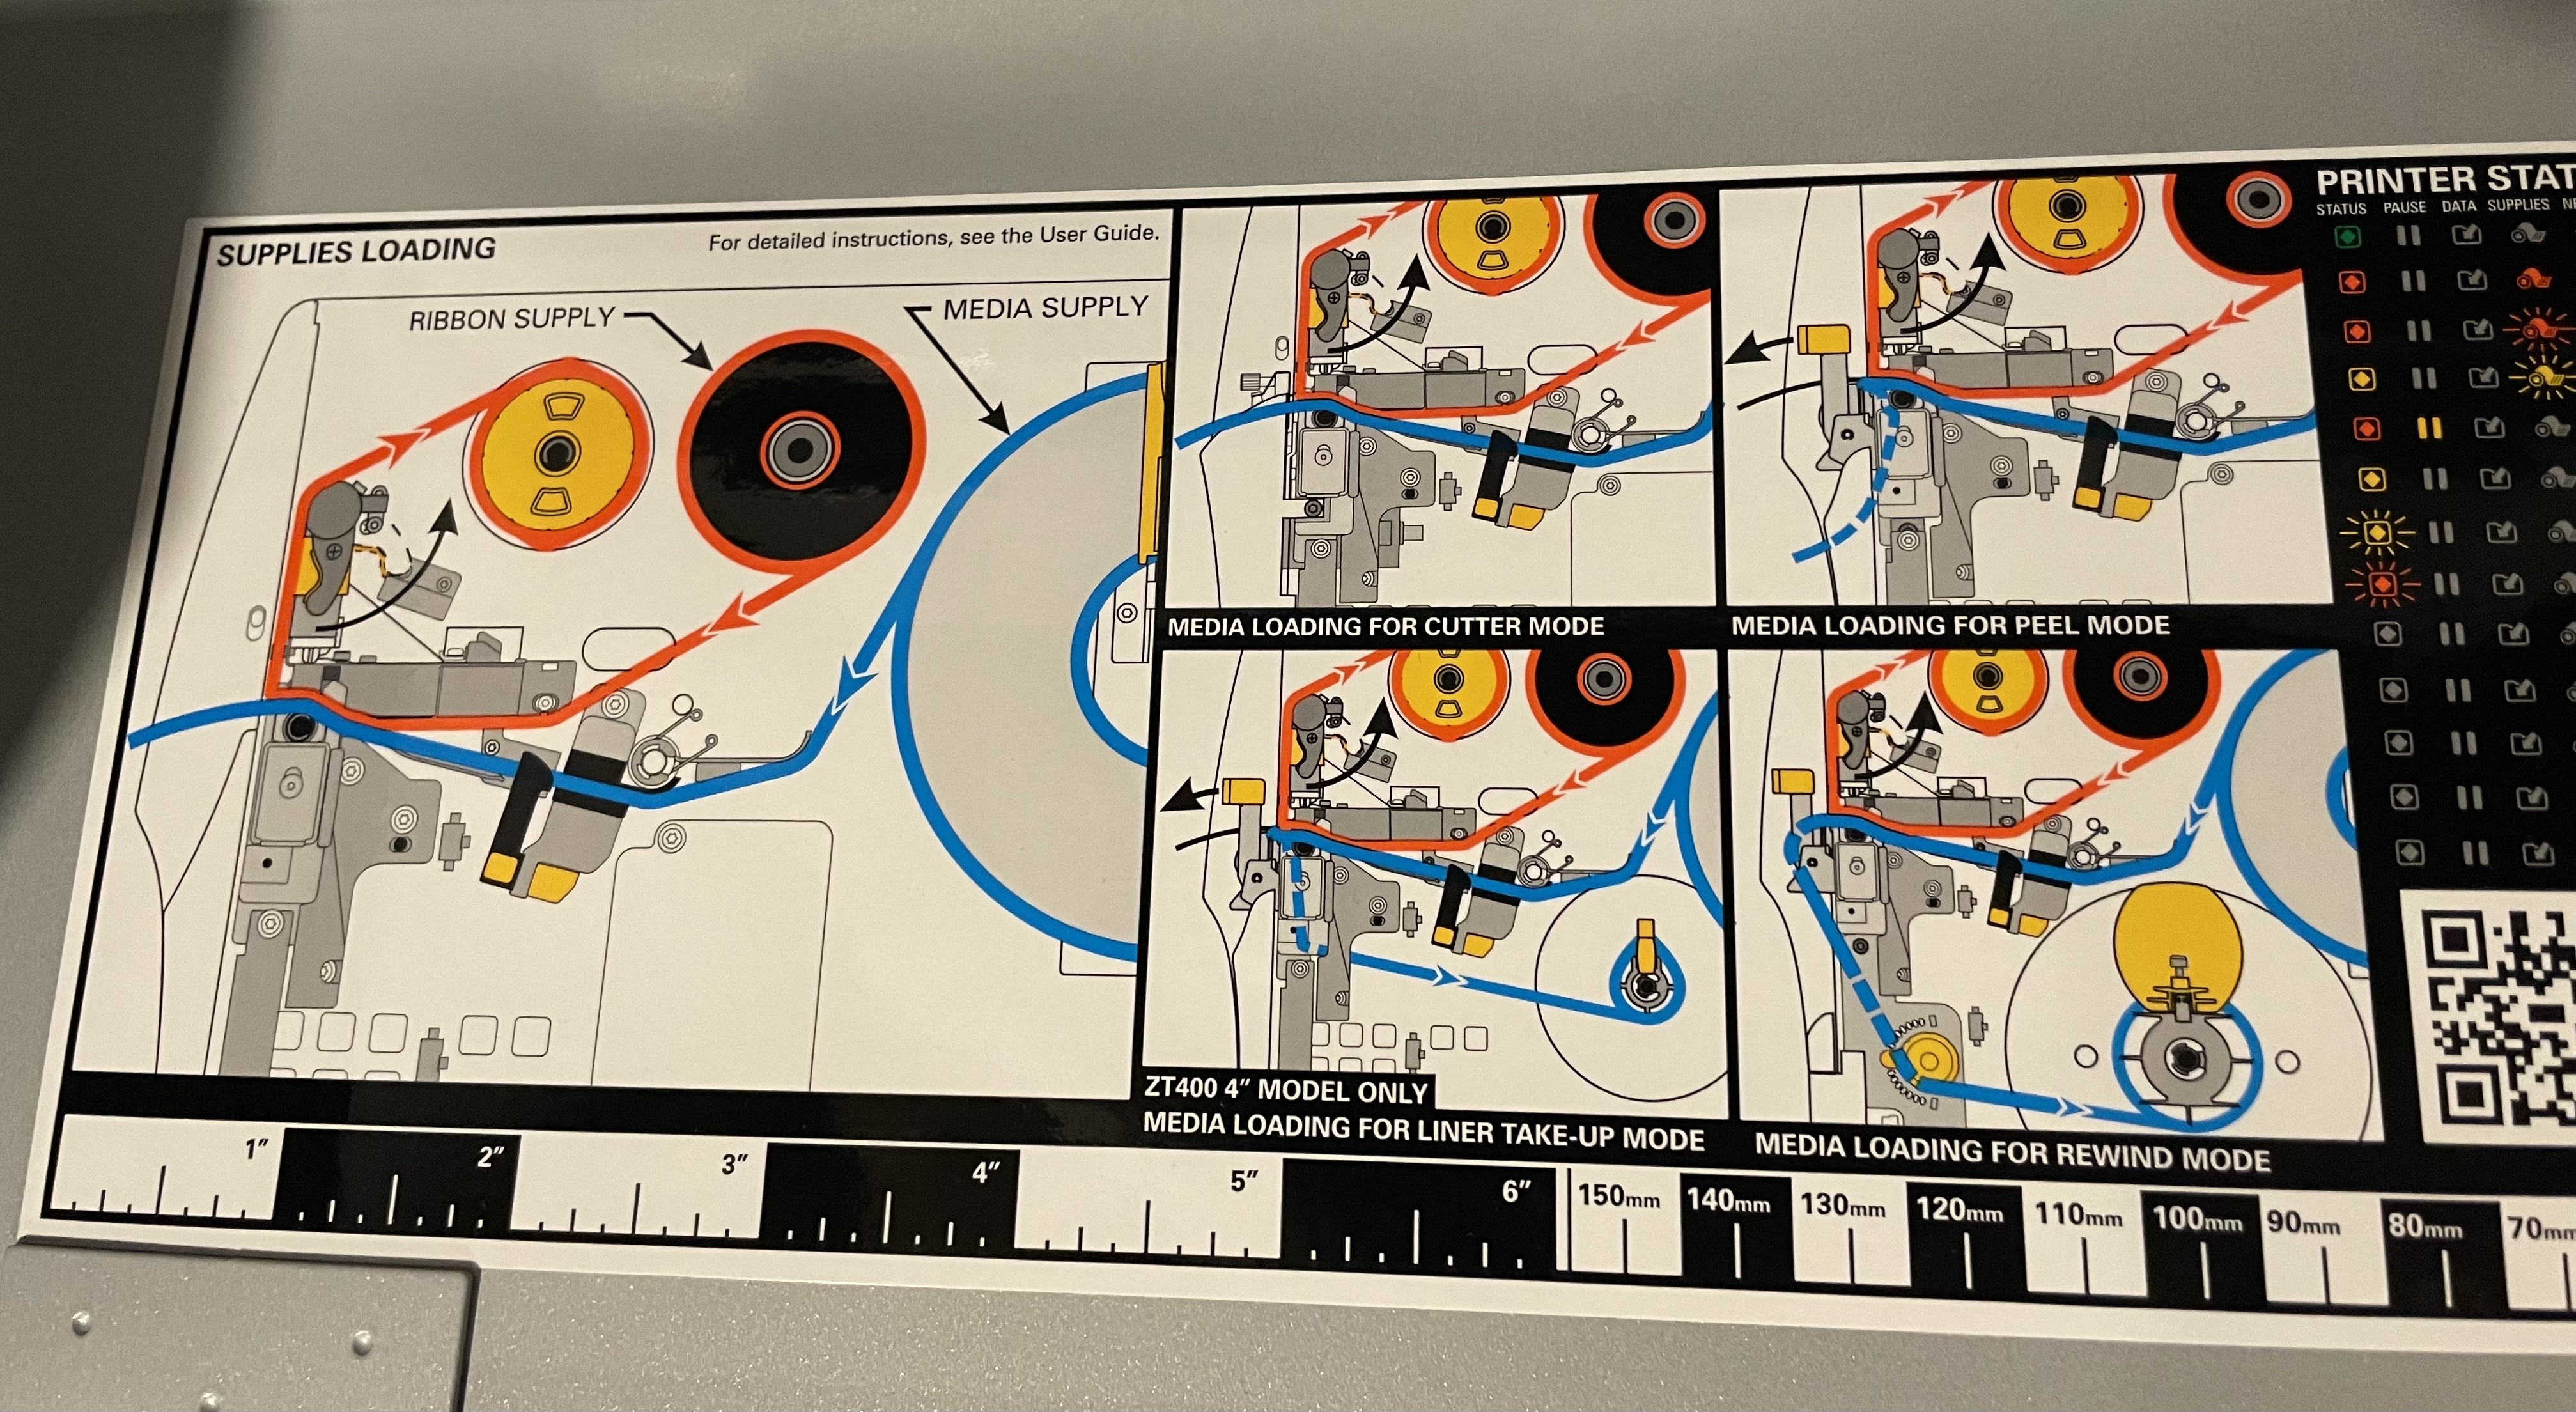
- Before installing the paper, please make sure to remove the plastic insert in the roll.
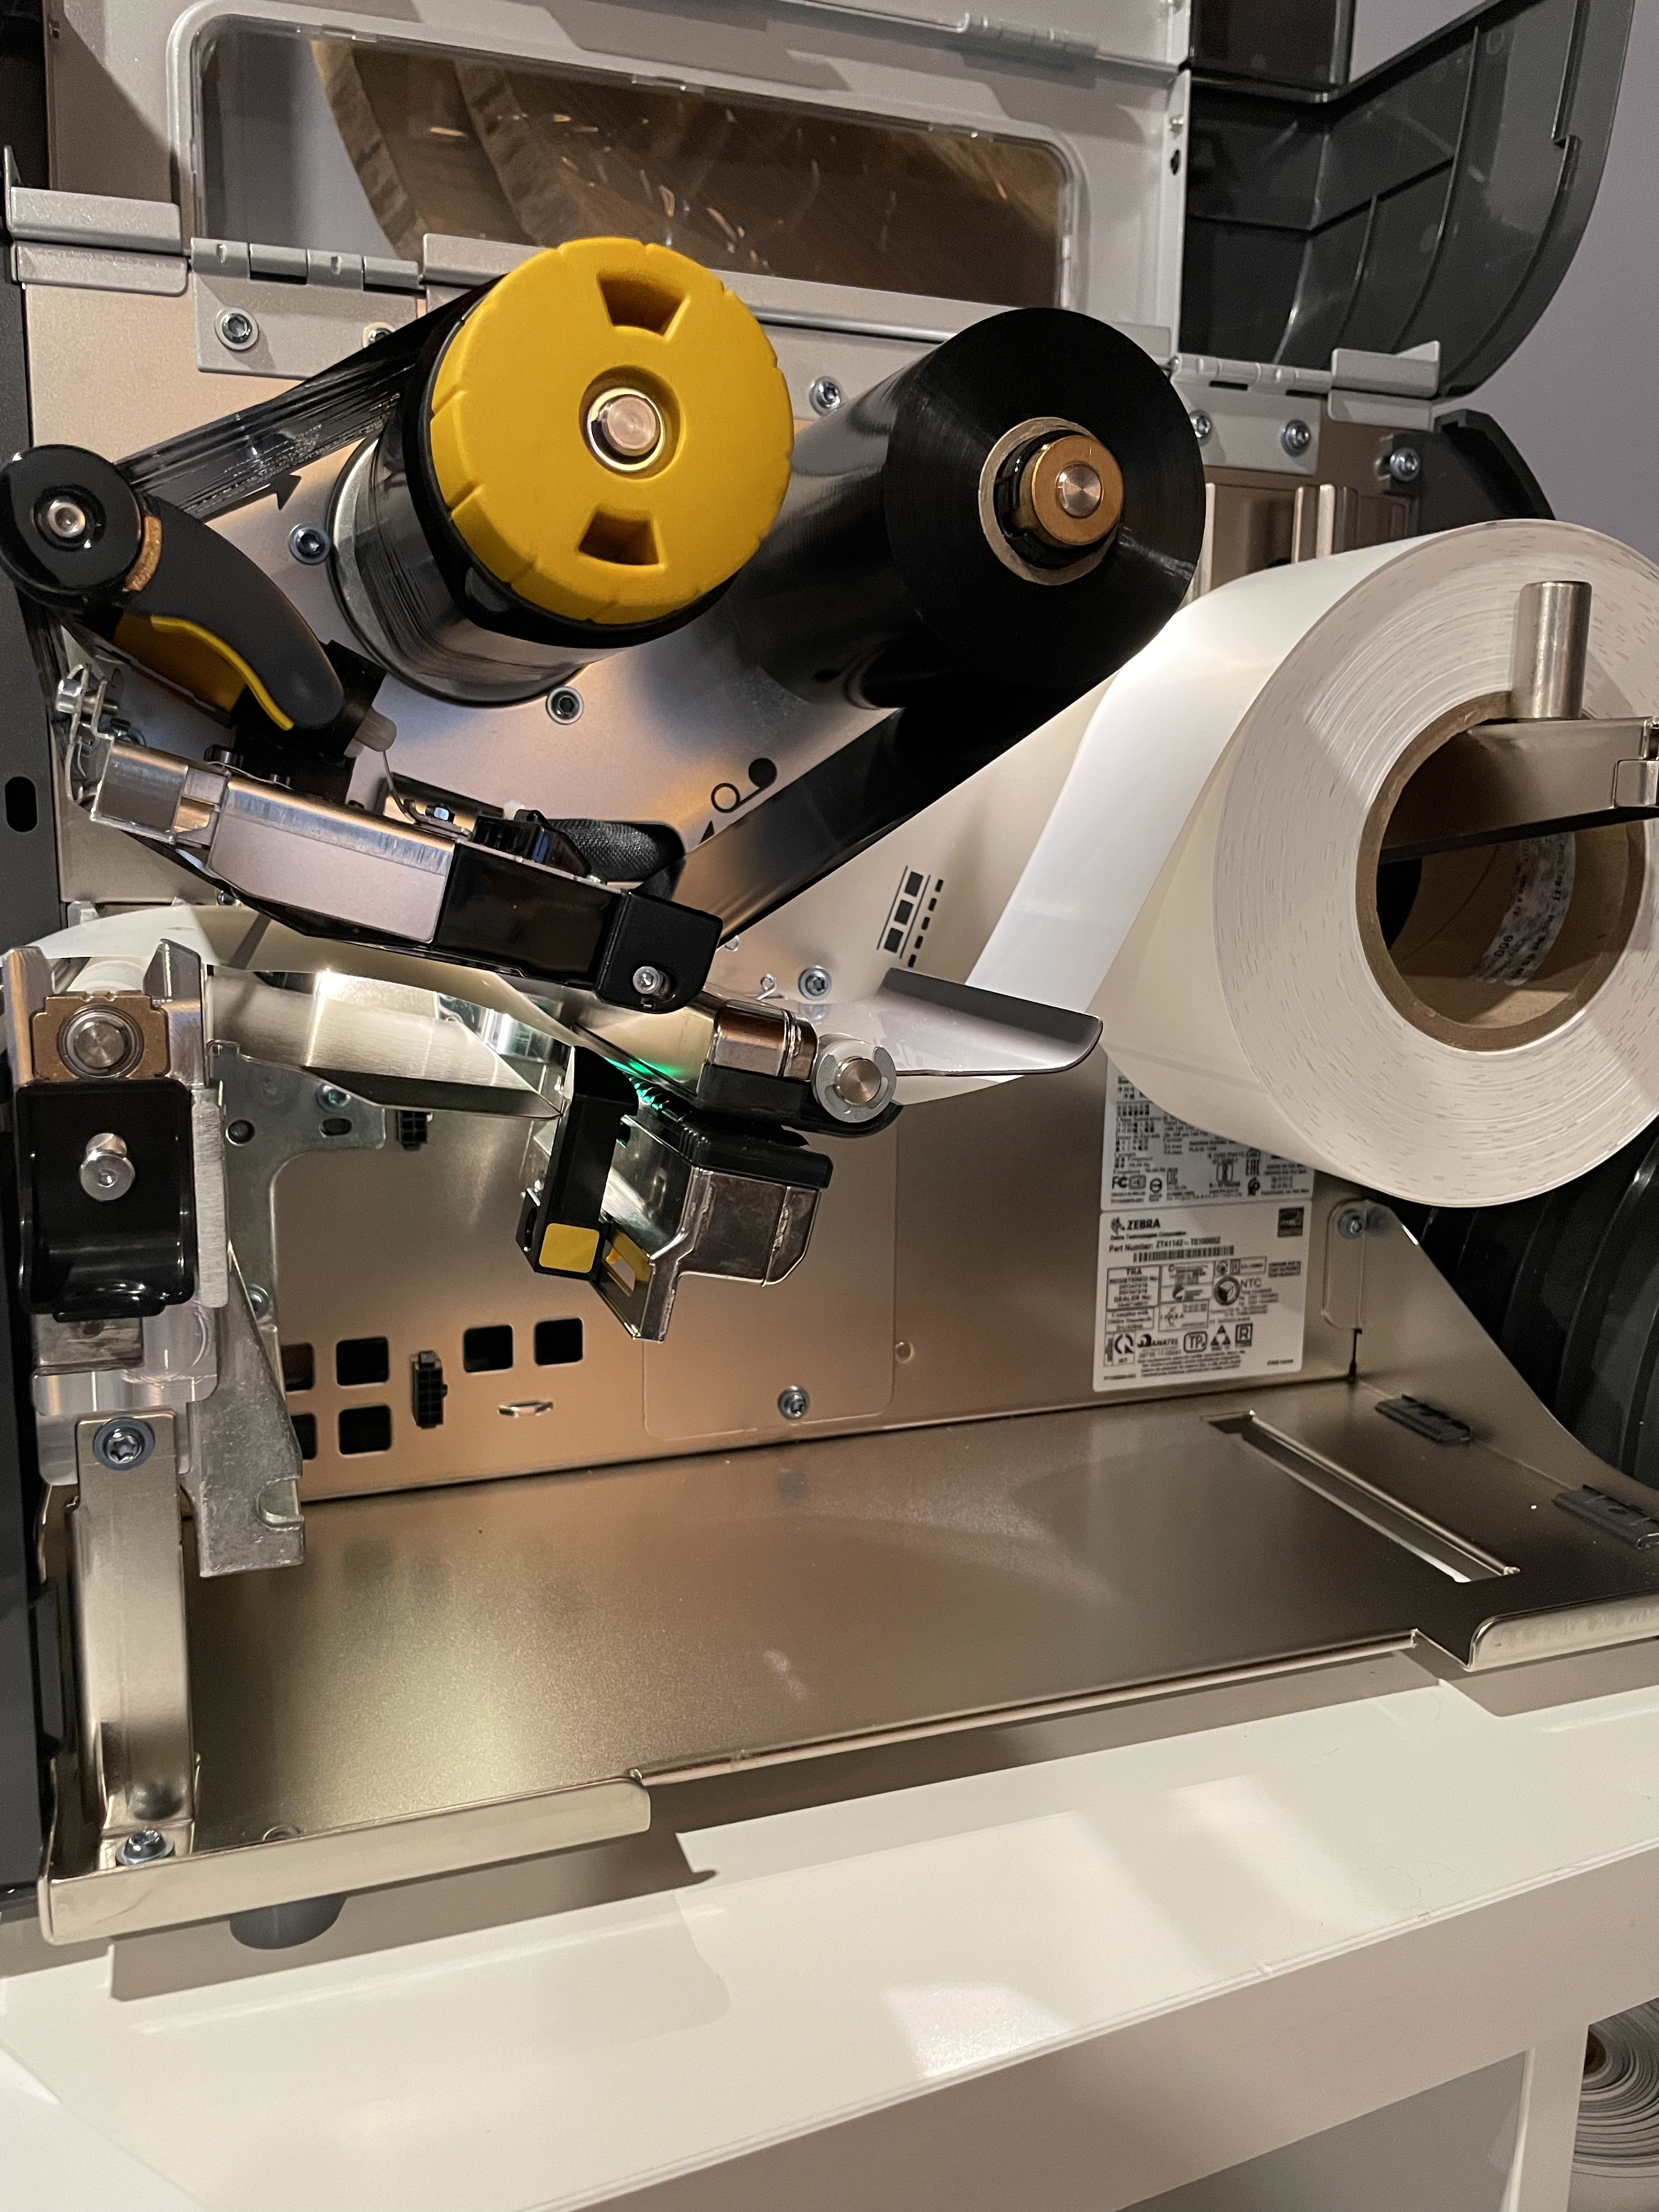
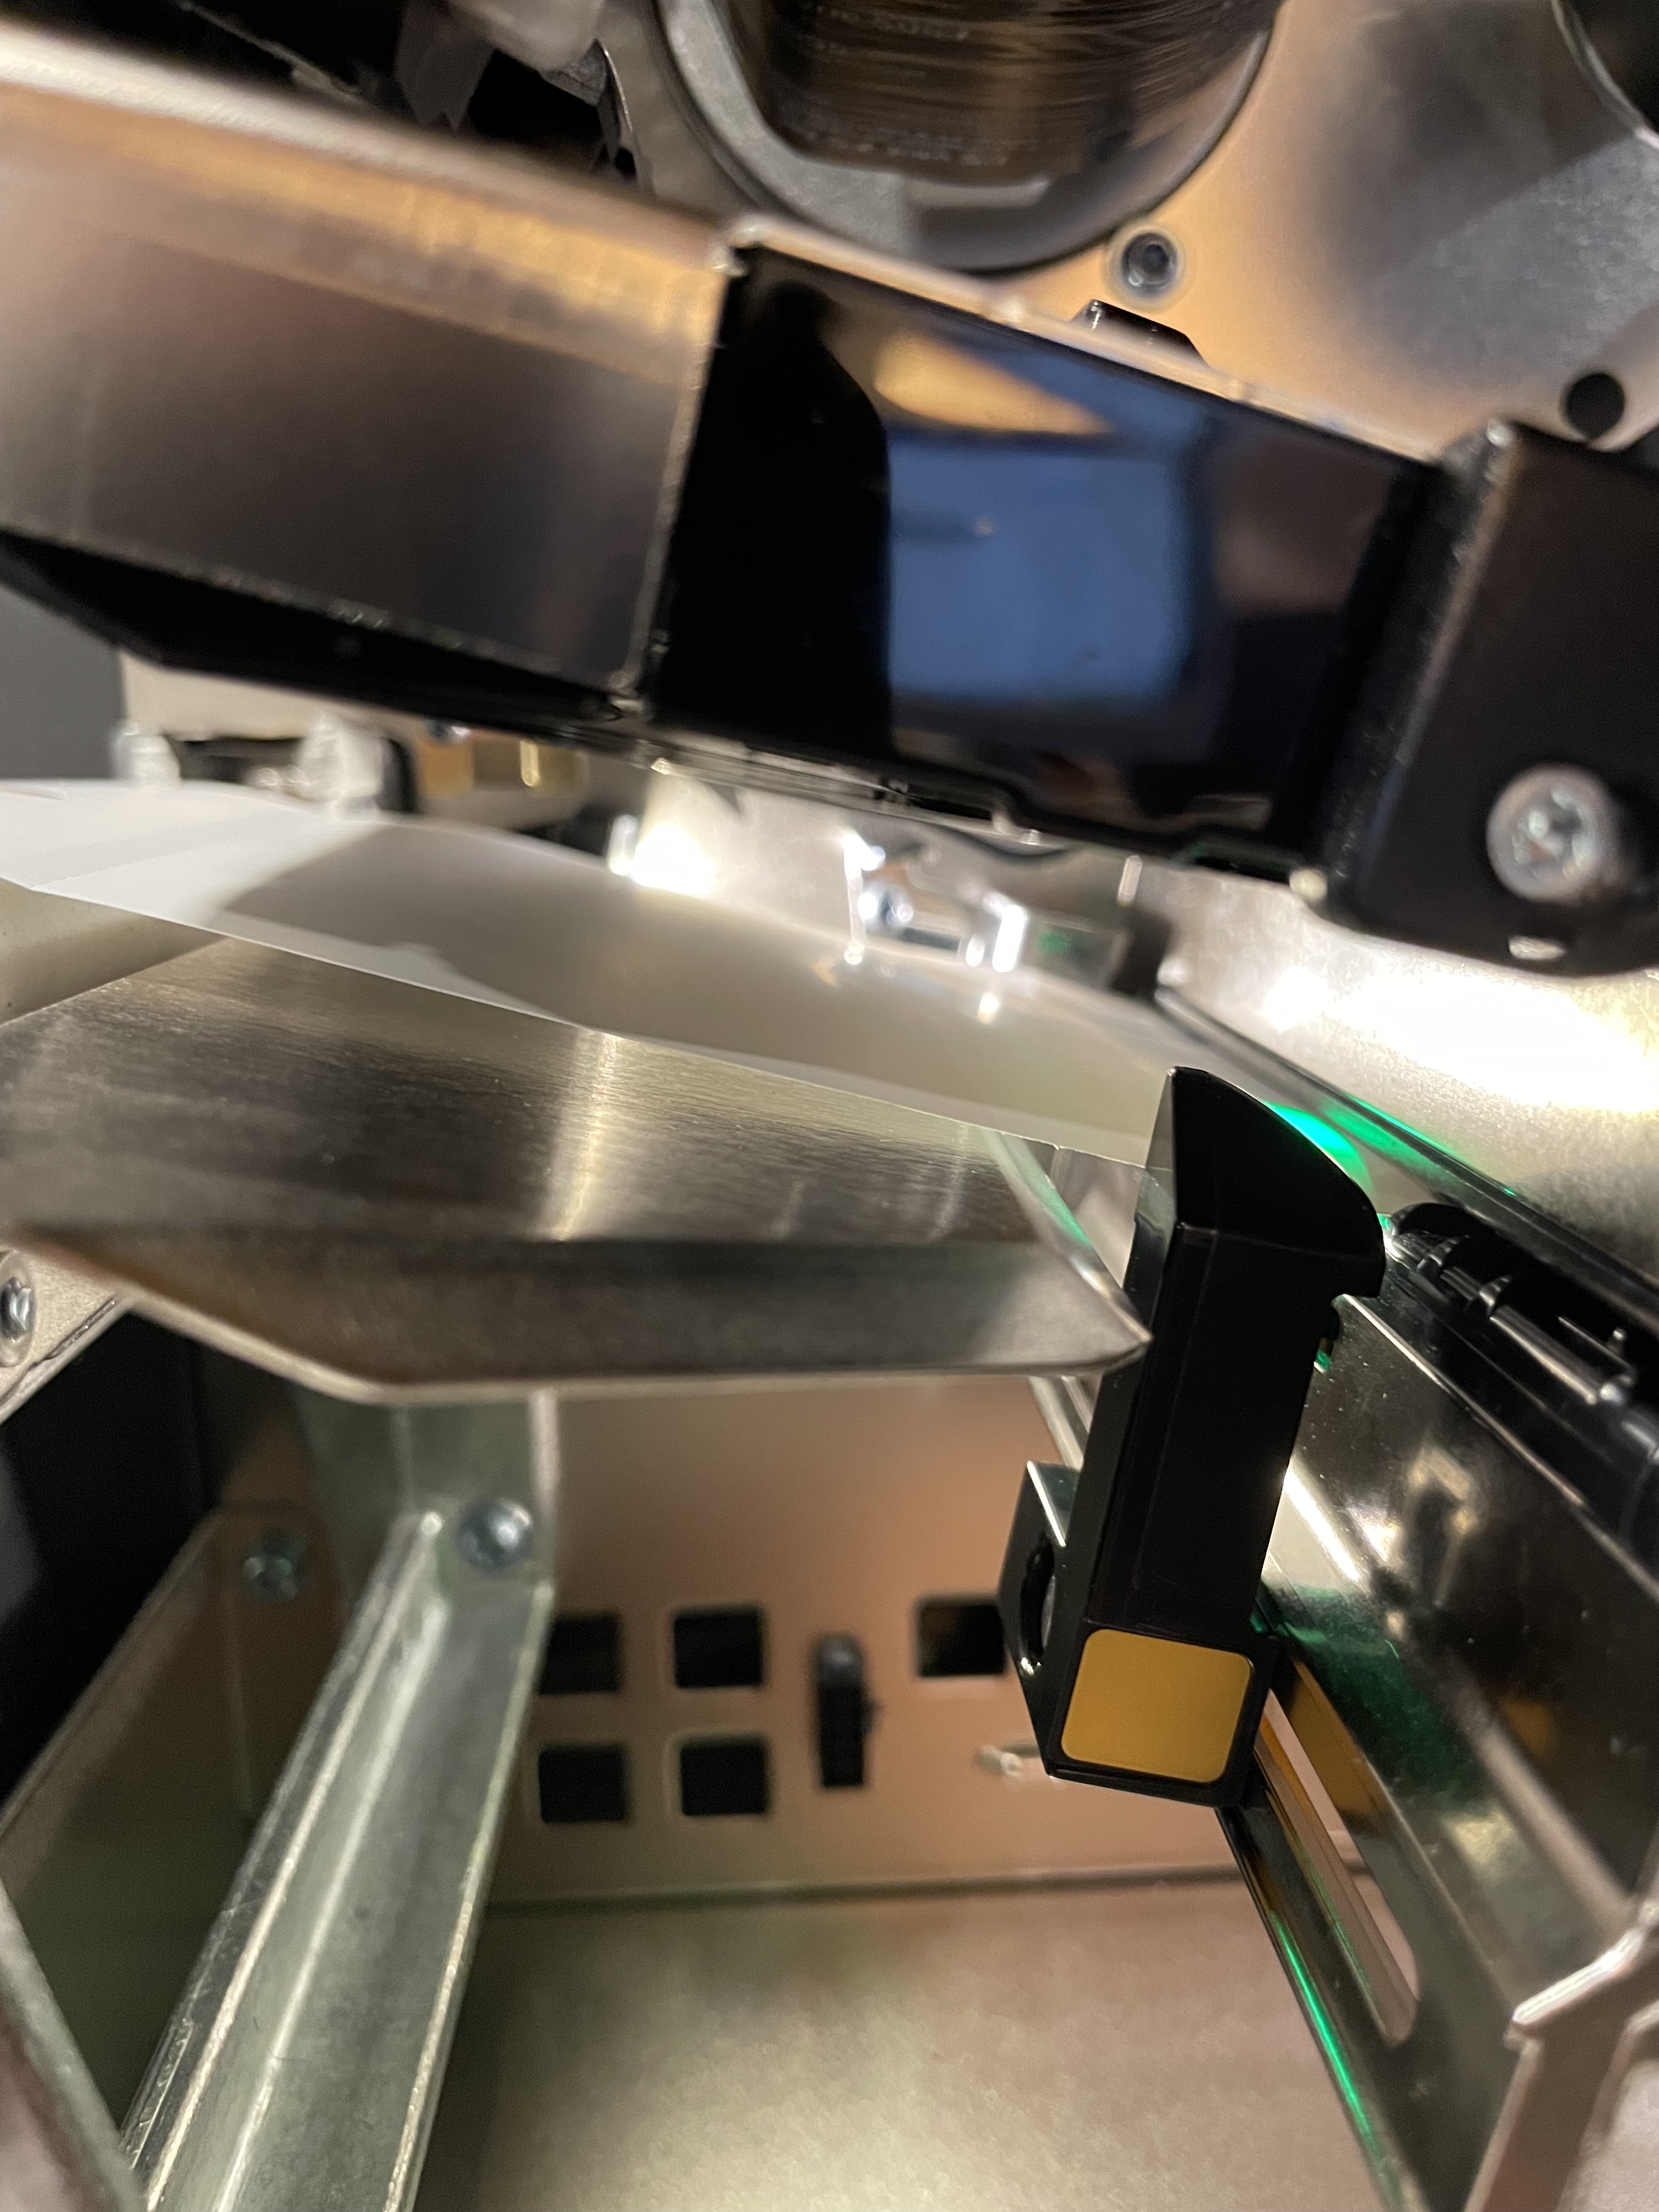
- Make sure your green sensor is catching either the black line on the back of your paper or the notch on your paper. And make sure the black guide is snug against your paper.
- Then close the printer head assembly
Calibrating
- Open the BlueTrace App
- Navigate to Settings > Printer > Connected Printers (this option only appears if you are connected to a printer via BlueTooth)
- Confirm your settings for the following items are correct:
- Paper Size: small paper (5.5" x 2.625") or 7" (3" x 7")
- Media Mode: Tear Off
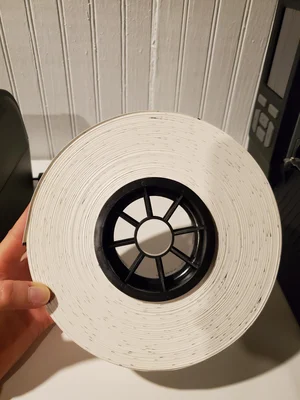
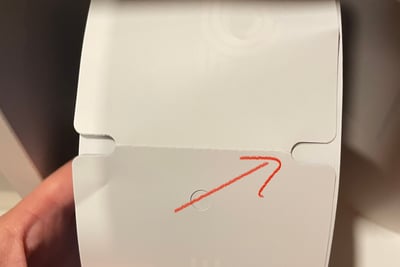
- Calibration Type: depends on your paper, if your paper has notches around the perforation, use notched and make sure the green sensor on the printer is under one of the notches, otherwise use Black Line. Example of notched paper below.
- Back on Settings > Printer > tap calibrate printer - this allows our app to tell the printer important things about paper size and alignment
- You will need to follow all the steps on the printer, when done, make sure to unpause the printer if it's automatically been paused.
Notched paper example:
Troubleshooting
- Adjusting the sensor usually has a positive impact on calibration issues - move the sensor then follow the calibration steps again.
- If the paper drifts off to one side or does not print evenly. Adjust the pressure pads on the front. Note this can also cause a Media Out error. See image of the pressure pads below.
- If the print job becomes vertically offset and the tag is not cleanly on a sheet, slow the printer down. On the printer > tap Menu > tap the Printer icon > Print Quality > Print Speed - setting it to something like 3 or 4 to see if it corrects the offset.
- If the print job has the text too close to the right edge of the tag, you can adjust the horizontal offset on the printer. But first inside the printer, make sure the guide is against the paper and there isn't room for the paper to drift. To adjust the offset: On the printer > tap Menu > tap the Printer icon > Print Quality > Image Adjust > Set the Horizontal Label Offset- between 20 and 50 may get it done.